


 Multi-Vendor & Complex SaaS Marketplaces
 Modern Headless & Jamstack Web Development
 High-End Corporate & Specialized Business Websites
 Advanced API, Checkout & Database Troubleshooting
Recover a Hacked WordPress Site: Step-by-Step Guide AU
Identify malware, scan the server, clean files and the database, restore a clean backup, then lock the site down. A practical remote recovery runbook for Australian site owners, with clear DIY steps and when to book Fixwebnode.
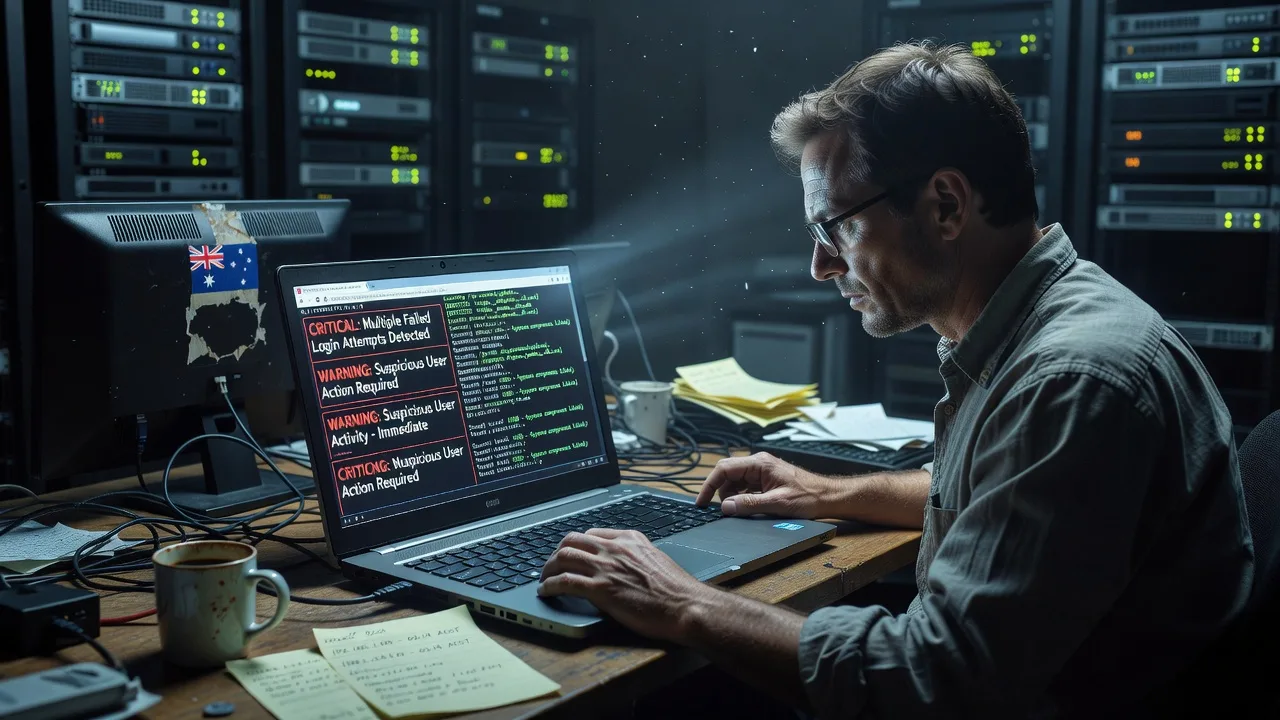
If your WordPress site is redirecting visitors, injecting spam, or showing mystery files, this guide walks you through full recovery: identify the hack, scan the server, remove malware, clean the database, restore a pre-hack backup, and harden passwords, plugins, and security.
This is written for Australian homeowners and small businesses who manage WordPress themselves or with a host control panel. Work is remote and digital. When the infection is deep or you cannot risk further downtime, Fixwebnode WordPress support can take over the same recovery path end to end across service areas in Australia.
Prerequisites: SSH or SFTP access, wp-admin (if still usable), a recent off-site backup if you have one, and a maintenance window. Prefer a staging copy when possible. Do not leave the live site public while you experiment.
Why recovering a hacked WordPress site matters
A compromise is not only an ugly homepage. Search engines may flag the domain, customers lose trust, and attackers often leave backdoors so the site reinfects after a partial clean. In Australia, small business sites on shared hosting are frequent targets because outdated plugins and weak admin passwords are common. A disciplined sequence—identify, scan, remove, restore, secure—stops the cycle better than deleting one suspicious file and hoping for the best.
How do I recover a hacked WordPress site in Australia step by step?
Confirm the breach from symptoms (redirects, spam posts, unknown PHP files), put the site in maintenance or offline mode, run a server-side malware scan, delete infected files, scrub malicious options and users from the database, restore from a verified pre-hack backup when available, then rotate every password and update core, themes, and plugins with hardening in place.
Use this quick map before you start:
| Symptom | Quick DIY focus | When to call Fixwebnode |
|---|---|---|
| Random redirects / pharma spam links | Scan web root; check .htaccess and theme headers | Redirect persists after file clean or SEO blacklist |
| Strange PHP/JS files in uploads | Quarantine uploads; compare to clean backup | Backdoors keep returning after delete |
| Unknown admin users or spam posts | Clean wp_users and post tables; reset salts | Database is heavily injected or site will not boot |
Common issues after a WordPress hack
1. Malicious redirects and injected spam content
Visitors land on gambling or pharmacy pages, Google Search Console reports “hacked site,” or your own pages suddenly contain hidden links. Root cause is often a poisoned .htaccess, theme header.php/footer.php, or a database option holding base64 JavaScript.
2. Strange files and webshells on the server
Odd filenames appear under wp-content/uploads, wp-includes, or the document root: single-letter PHP files, recently modified wp-config.php, or large encoded blobs. These keep access open after you “fix” the homepage.
3. Database pollution and rogue administrators
New admin accounts you did not create, scheduled posts full of spam, or wp_options rows with long encoded strings. File-only cleanup fails because the payload lives in MySQL.
4. Reinfection after a partial clean
Site looks fine for a day, then redirects return. Typical causes: leftover cron jobs, compromised FTP credentials, outdated plugins, or a backup that itself contained malware.
Step 1 — Identify the hack and lock down access
Document what you see before changing anything: screenshots of redirects, dates of first reports, and any email from your host. Then reduce blast radius.
Step 1 — Take the site offline or into maintenance
From the host panel, enable maintenance mode, or rename the theme folder via SFTP so WordPress cannot load a poisoned front end while you work. Notify stakeholders that the site is under recovery.
Step 2 — Snapshot current state
cd /var/www/html
tar -czf /root/wp-pre-clean-$(date +%F).tar.gz .
mysqldump -u DB_USER -p DB_NAME > /root/wp-pre-clean-$(date +%F).sql
Replace paths and credentials with yours. Keep this forensic copy offline; do not use it as the restore source unless you later verify it is clean.
Step 3 — List recently changed files
find /var/www/html -type f -mtime -14 -printf '%TY-%Tm-%Td %TT %p\n' | sort
find /var/www/html -name '*.php' -path '*/uploads/*'
ls -la /var/www/html | head
stat /var/www/html/.htaccess /var/www/html/wp-config.php
Note PHP inside uploads, unexpected root PHP files, and .htaccess or wp-config timestamps that do not match your last legitimate deploy.
Step 4 — Check web and PHP error logs
sudo tail -n 200 /var/log/nginx/error.log
sudo tail -n 200 /var/log/apache2/error.log
sudo tail -n 200 /var/log/php*-fpm.log
Look for repeated hits to unknown scripts, eval errors, or POST storms against xmlrpc.php and wp-login.php.
When to call a pro / Fixwebnode: you cannot obtain SSH or a full file listing, or the host has already suspended the account and you need coordinated restore work such as emergency WordPress malware removal and security.
Step 2 — Scan for malware on the server
Plugin scanners help when wp-admin still loads, but a server-side scan catches webshells plugins miss. On a VPS or cloud instance you control, ClamAV plus a WordPress-aware integrity check is a solid baseline.
Step 1 — Install and update ClamAV (Debian/Ubuntu example)
sudo apt-get update
sudo apt-get install -y clamav clamav-daemon
sudo systemctl stop clamav-freshclam
sudo freshclam
sudo systemctl start clamav-freshclam
Step 2 — Scan the WordPress document root
sudo clamscan -r -i --log=/root/clam-wp-scan.log /var/www/html
grep -E 'FOUND|Infected' /root/clam-wp-scan.log || true
Review every hit. ClamAV can flag legitimate caches; compare paths against a known-good release.
Step 3 — WordPress core checksums with WP-CLI
cd /var/www/html
wp core verify-checksums --allow-root
wp plugin verify-checksums --all --allow-root
wp theme list --allow-root
wp plugin list --status=active --allow-root
Failed checksums mean modified core or plugin files—treat them as untrusted until replaced from official packages.
Step 4 — Hunt encoded payloads quickly
grep -R --include='*.php' -nE 'eval\s*\(|base64_decode\s*\(|gzinflate\s*\(|str_rot13\s*\(' /var/www/html | head -n 80
grep -R --include='.htaccess' -nE 'RewriteRule|auto_prepend_file|hack' /var/www/html
Manual review is mandatory. Do not mass-delete solely on grep matches without opening the file.
When to call a pro / Fixwebnode: scan volume is huge, shared hosting blocks ClamAV, or you need specialist handling for a pharma hack and malicious redirect removal in Australia.
Step 3 — Remove malicious files and clean the database
Delete only what you can attribute to the attack. Prefer replacing WordPress core and official plugins/themes wholesale, then surgically remove leftovers.
Step 1 — Quarantine suspects instead of permanent delete first
mkdir -p /root/wp-quarantine
# Example: move a suspicious uploads PHP file
mv /var/www/html/wp-content/uploads/2024/09/x.php /root/wp-quarantine/
# Example: quarantine a root dropper
mv /var/www/html/wp-tmp.php /root/wp-quarantine/ 2>/dev/null || true
Step 2 — Reinstall clean core files (keeps wp-config and wp-content)
cd /var/www/html
wp core download --force --skip-content --allow-root
wp core verify-checksums --allow-root
Step 3 — Replace compromised plugins and themes
wp plugin install plugin-slug --force --allow-root
wp theme install theme-slug --force --allow-root
# Or delete abandoned plugins entirely
wp plugin delete abandoned-plugin-slug --allow-root
Remove unused themes and plugins. One abandoned extension is enough to reopen the door.
Step 4 — Reset .htaccess to a known-good WordPress skeleton
cd /var/www/html
cp .htaccess /root/wp-quarantine/htaccess.bak 2>/dev/null || true
cat > .htaccess <<'EOF'
# BEGIN WordPress
<IfModule mod_rewrite.c>
RewriteEngine On
RewriteRule .* - [E=HTTP_AUTHORIZATION:%{HTTP:Authorization}]
RewriteBase /
RewriteRule ^index\.php$ - [L]
RewriteCond %{REQUEST_FILENAME} !-f
RewriteCond %{REQUEST_FILENAME} !-d
RewriteRule . /index.php [L]
</IfModule>
# END WordPress
EOF
Adjust RewriteBase if the site lives in a subdirectory. Re-apply legitimate host rules only after review.
Step 5 — Clean rogue users, spam content, and bad options
wp user list --role=administrator --allow-root
wp user delete ROGUE_USER_ID --reassign=YOUR_ADMIN_ID --allow-root
wp post list --post_type=post --format=ids --allow-root | xargs -r -n 1 wp post get --field=post_title --allow-root
wp db query "SELECT option_name, LENGTH(option_value) AS len FROM wp_options ORDER BY len DESC LIMIT 30;" --allow-root
wp option get siteurl --allow-root
wp option get home --allow-root
Delete spam posts and pages you did not author. Inspect oversized options for injected scripts; remove only rows you recognise as malicious (for example unknown wp_* options holding encoded JS). If table prefixes are not wp_, substitute yours.
Step 6 — Rotate WordPress salts and flush caches
wp config shuffle-salts --allow-root
wp cache flush --allow-root
wp rewrite flush --allow-root
Then restart PHP so opcache drops poisoned bytecode:
sudo systemctl restart php8.2-fpm
# or, depending on stack:
sudo systemctl restart php-fpm
sudo systemctl reload nginx
When to call a pro / Fixwebnode: you are unsure which database rows are payload versus legitimate plugin data, or cleaning breaks checkout and login flows.
Step 4 — Restore from a clean pre-hack backup
If you have a backup taken before the first symptom date, restoring it is often faster and safer than endless surgical edits—provided you verify the backup itself is clean and you still patch the original entry point afterward.
Step 1 — Verify backup age and integrity
Confirm the dump or archive predates the compromise. Open a few theme files from the archive and run the same checksum and clamscan steps on a restored staging copy before touching production.
Step 2 — Restore files on staging first
# Example file restore into a staging directory
mkdir -p /var/www/staging && cd /var/www/staging
tar -xzf /backups/wordpress-clean-YYYY-MM-DD.tar.gz
clamscan -r -i /var/www/staging
wp core verify-checksums --path=/var/www/staging --allow-root
Step 3 — Restore the database carefully
mysql -u DB_USER -p -e "DROP DATABASE IF EXISTS DB_NAME_staging; CREATE DATABASE DB_NAME_staging;"
mysql -u DB_USER -p DB_NAME_staging < /backups/wordpress-clean-YYYY-MM-DD.sql
wp config set DB_NAME DB_NAME_staging --path=/var/www/staging --allow-root
wp search-replace 'https://www.example.com' 'https://staging.example.com' --path=/var/www/staging --allow-root
Step 4 — Cut over only after smoke tests
Test login, forms, ecommerce checkout, and critical templates. Then promote the clean tree to production using your host’s documented process (symlink swap, rsync, or panel restore). Immediately rotate credentials after cutover—backups do not rotate secrets for you.
Step 5 — If no clean backup exists
Stay on the surgical path: clean core, plugins, themes, uploads PHP, .htaccess, and database. Export a new known-good backup only after scans pass twice on separate days.
When to call a pro / Fixwebnode: backups are incomplete, encrypted by the host in a format you cannot unpack, or restore repeatedly reintroduces the redirect.
Step 5 — Secure the site: passwords, updates, and hardening
Cleanup without hardening invites the same attacker back through the same hole.
Step 1 — Rotate every related secret
- WordPress admin passwords for all users (force reset).
- Database password in the host panel and in
wp-config.php. - SFTP/SSH keys and passwords; disable unused FTP accounts.
- Hosting panel, domain registrar, and email accounts tied to the domain.
- Application passwords, WooCommerce webhooks, and CI deploy keys.
wp user update YOUR_ADMIN_ID --user_pass='use-a-long-random-password' --allow-root
wp config set DB_PASSWORD 'new-long-db-password' --allow-root
Step 2 — Update core, plugins, and themes
wp core update --allow-root
wp plugin update --all --allow-root
wp theme update --all --allow-root
wp core verify-checksums --allow-root
Step 3 — Lock authentication and XML-RPC abuse
# Disable XML-RPC if you do not need it (nginx example snippet)
# place in the server block and reload nginx
# location = /xmlrpc.php { deny all; }
wp plugin install limit-login-attempts-reloaded --activate --allow-root
wp rewrite flush --allow-root
sudo systemctl reload nginx
Enforce unique admin usernames (avoid admin), 2FA via a maintained plugin, and least-privilege roles.
Step 4 — File permissions and uploads hygiene
cd /var/www/html
find . -type d -exec chmod 755 {} \;
find . -type f -exec chmod 644 {} \;
chmod 600 wp-config.php
# Block PHP execution in uploads (Apache example — place in uploads/.htaccess)
printf '<FilesMatch "\\.(php|phtml|php5)$">\nRequire all denied\n</FilesMatch>\n' > wp-content/uploads/.htaccess
Step 5 — TLS, headers, and ongoing monitoring
Confirm HTTPS certificates are valid and auto-renewing. Re-submit the site in Google Search Console if it was flagged. Schedule weekly off-site backups and file integrity checks. Keep a change log so the next incident has a clear “last known good” date.
sudo certbot renew --dry-run
curl -sI https://www.example.com | head -n 20
When to call a pro / Fixwebnode: you need a full remote hardening pass, persistent blacklist removal support, or a monitored recovery while your team runs the business.
When DIY is enough vs when to book Fixwebnode
DIY is reasonable when you have SSH or solid SFTP, a recent clean backup, a single clear dropper, and the site is not your primary revenue channel for the next few hours. Follow the numbered path above, keep quarantine copies, and re-scan after 24–48 hours.
Book specialist remote help when any of these apply: redirects continue after core reinstall; multiple backdoors reappear; the database is heavily injected; Google or host blacklists remain; ecommerce or membership data may have been exposed; or you simply cannot afford trial-and-error downtime. Fixwebnode works as a direct WordPress support provider for Australian small businesses—not a freelance marketplace—and can run malware removal, redirect cleanup, backup restore, and hardening as one coordinated remote engagement.
Book remote WordPress hack recovery
If you want a specialist to take the keyboard—identify the compromise, scan the server, remove malicious files, clean the database, restore a pre-hack backup, and secure passwords and plugins—start a conversation with Fixwebnode via the WordPress support page for Australian small businesses. Bring your host login method, approximate first-symptom date, and any backup location so recovery can begin without guesswork.
Troubleshooting
Site still redirects after file clean → Check database siteurl/home, remaining .htaccess rules, CDN or host-level redirects, and browser cache. Re-run the encoded-payload grep and clamscan on a fresh checkout.
wp-admin white screen → Enable debug briefly, review PHP-FPM logs, disable plugins by renaming wp-content/plugins, and restore a default theme folder from a clean package.
wp option update write_debug 0 --allow-root 2>/dev/null || true
# In wp-config.php temporarily:
# define('WP_DEBUG', true);
# define('WP_DEBUG_LOG', true);
# define('WP_DEBUG_DISPLAY', false);
tail -n 100 /var/www/html/wp-content/debug.log
mv wp-content/plugins wp-content/plugins.off
Checksums fail only on one plugin → Force reinstall that plugin from wordpress.org or remove it if unmaintained; do not leave modified vendor code in place.
Conclusion
Recovering a hacked WordPress site is a sequence, not a single delete: identify symptoms, scan on the server, quarantine and replace infected files, clean users and options in the database, restore from a verified pre-hack backup when you have one, then rotate credentials and harden updates, permissions, and login paths. Australian site owners who follow these steps carefully can often restore service themselves; when the infection is stubborn or revenue is on the line, Fixwebnode can complete the same remote recovery path with you.