




 Multi-Vendor & Complex SaaS Marketplaces
 Modern Headless & Jamstack Web Development
 High-End Corporate & Specialized Business Websites
 Advanced API, Checkout & Database Troubleshooting
Migrate cPanel Shared Hosting to a HestiaCP VPS Safely
Move off shared hosting without downtime drama. Full cPanel backup (files, databases, email, SSL), provision a HestiaCP VPS, and restore cleanly—plus Australian-specific pitfalls and when to book Fixwebnode.
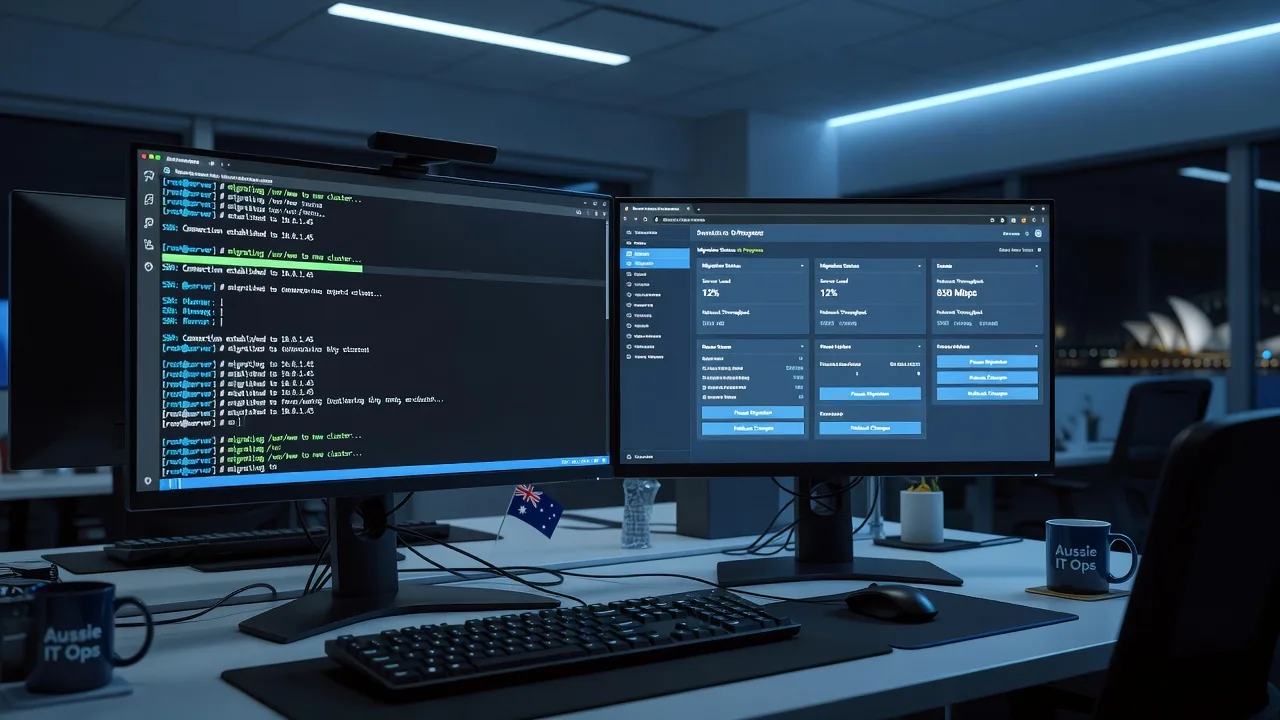
If your site has outgrown shared hosting—slow PHP, noisy neighbours, or rigid email limits—this guide walks Australian site owners and small businesses through a full migration to a VPS without breaking files, mail, or SSL.
You will take a complete cPanel backup, provision a clean Ubuntu VPS with HestiaCP, restore websites and mailboxes, re-issue certificates, and cut DNS over only after verification. Remote server support from Fixwebnode Linux server support is available when a step fails under real traffic. Work is delivered digitally across Australia; see all service areas for coverage.
Why a careful shared-to-VPS move matters
Shared hosts hide Apache/Nginx, MySQL, and Exim behind cPanel. A VPS with HestiaCP gives you root control, but a partial backup or rushed DNS flip commonly orphans mail, drops database users, or serves mixed-content HTTPS. The safe path is always: full backup first, panel install second, restore and test third, DNS last.
What breaks when migrating cPanel sites to a HestiaCP VPS in Australia?
The usual failure is not “the VPS is down”—it is incomplete backups, PHP path mismatches after restore, or SSL and mail still pointing at the old host while A records already moved. Fix those three before you lower TTL and cut over.
| Symptom | Quick fix | When to call Fixwebnode |
|---|---|---|
| Site loads; wp-admin or forms error on DB | Import SQL, recreate DB user, update wp-config | Multiple DBs or unknown app configs |
| HTTPS warning or mixed content after cutover | Force HTTPS in app; re-issue Let’s Encrypt in Hestia | Custom certs, CDN, or SNI conflicts |
| Mail sends but inbound stops | MX still on old host; sync mailboxes before MX change | Large mail stores or dual-delivery needs |
Common issues unique to this migration
- Incomplete cPanel backup missing email or homedir — Web files restore, but Roundcube is empty and /home/user/mail never arrived.
- Database import succeeds but the app cannot connect — Wrong DB name/user, socket vs TCP, or charset collation drift from MySQL 5.7 to 8.
- SSL works on the VPS IP test host but fails on the live domain — Certificate issued for wrong names, old CAA, or Cloudflare proxy still on Flexible.
- PHP version and path differences break plugins — Shared host ran PHP 8.1; Hestia default domain is 8.2/8.3 and ionCube or short_open_tag differs.
- DNS cutover before mail and cron verification — Site is fine; invoices and contact forms stop because MX or SPF still name the old host.
Full cPanel backup — files, databases, email, SSL
Do this on the old host while the site is still live. Prefer a full account backup so homedir, MySQL dumps, email, and SSL material travel together.
Step 1 — Create a full account backup in cPanel
In cPanel go to Backup or Backup Wizard → Download a Full Account Backup. Choose home directory as destination if offered, or generate then download via browser/SFTP. For SSH access on the shared host:
# If your host allows and pkgacct is available to your user (rare on shared):
# Prefer the cPanel UI full backup, then pull it with SFTP.

# After the .tar.gz lands in your home, verify size and list contents:
ls -lh ~/backup-*.tar.gz
tar -tzf ~/backup-*.tar.gz | head -n 50
tar -tzf ~/backup-*.tar.gz | grep -E 'mysql|homedir|ssl|bandmin|cron' | head -n 40
Confirm you see mysql/, homedir/, and ssl/ (or equivalent) inside the archive. If email folders are missing under homedir/mail, stop and regenerate a full backup—not a “home directory only” partial.
Step 2 — Export databases explicitly as a safety net
# From cPanel → phpMyAdmin → Export (SQL, custom, add DROP TABLE)
# Or via SSH if mysql client works:
mysqldump -u DBUSER -p DBNAME --single-transaction --routines --triggers > site.sql
ls -lh site.sql
grep -n "CREATE DATABASE\|USE " site.sql | head
Step 3 — Note SSL and mail state before you leave
- List every domain and subdomain in cPanel → Domains / SSL.
- Export email account list (user@domain) and forwarders.
- Record MX, SPF, DKIM, and DMARC from the DNS panel.
- Download any non–Let’s Encrypt commercial certificates and CA bundle if present.
Step 4 — Copy the backup off the shared host
# From your workstation or a staging box:
scp -P 22 'user@shared-host.example:~/backup-*.tar.gz' ./
sha256sum backup-*.tar.gz | tee backup.sha256
Store the checksum. You will re-check after upload to the VPS.
Provision a VPS with HestiaCP
Use a fresh Ubuntu LTS VPS (22.04 or 24.04) with a public IPv4, root SSH, and enough disk for sites plus mail. HestiaCP installs Nginx (or Apache+Nginx), PHP-FPM, MariaDB, Exim/Dovecot, and optional firewall.
Step 1 — Baseline hardening before the panel
ssh root@YOUR_VPS_IP
apt update && apt -y upgrade
timedatectl set-timezone Australia/Sydney
# or Australia/Perth, Australia/Melbourne as appropriate
hostnamectl set-hostname cp.example.com
echo "YOUR_VPS_IP cp.example.com" >> /etc/hosts
apt -y install curl wget sudo ufw fail2ban
Step 2 — Open only what you need pre-install
ufw default deny incoming
ufw default allow outgoing
ufw allow 22/tcp
ufw allow 80/tcp
ufw allow 443/tcp
ufw allow 8083/tcp
ufw --force enable
ufw status
Step 3 — Install HestiaCP
wget https://raw.githubusercontent.com/hestiacp/hestiacp/release/install/hst-install.sh
bash hst-install.sh --interactive no --email admin@example.com --hostname cp.example.com --password 'USE_A_LONG_RANDOM_PASSWORD' --with-debs yes
# Reboot if the installer requests it, then:
systemctl status hestia --no-pager
ss -tulpn | grep -E '8083|80|443|3306'
Log in at https://YOUR_VPS_IP:8083 (or the hostname once DNS for the panel name exists). Create a client/user package matching your old resource needs, then add each domain you will restore.
Step 4 — Align PHP and MariaDB defaults
# List installed PHP versions in Hestia CLI:
v-list-sys-php plain
# Set domain PHP to match old shared host (example 8.1):
v-change-web-domain-backend-tpl USER domain.tld PHP-8_1
# Check MariaDB is listening locally:
mysql -e "SELECT VERSION(); SHOW VARIABLES LIKE 'character_set_server';"
For WordPress and custom PHP apps, matching the old major PHP version before restore avoids white screens. Scripted app installs after panel setup are covered in specialist gigs such as Perth software and script installation and Hobart PHP and WordPress installation support when you need hands-on remote help.
Restore the backup on the new server
Hestia does not ingest raw cPanel pkgacct tarballs as a one-click “cPanel restore.” Treat the archive as a source of files, SQL, and mail directories, then map them into Hestia users and domains.
Step 1 — Upload and verify the archive
scp backup-*.tar.gz root@YOUR_VPS_IP:/root/
ssh root@YOUR_VPS_IP
cd /root
sha256sum -c backup.sha256
mkdir -p /root/cpanel-extract && tar -xzf backup-*.tar.gz -C /root/cpanel-extract
find /root/cpanel-extract -maxdepth 3 -type d | head -n 40
Step 2 — Create the Hestia user and web domains
# Replace USER and domain.tld
v-add-user USER 'LONG_PASSWORD' admin@example.com default
v-add-domain USER domain.tld
v-add-web-domain USER domain.tld
v-add-mail-domain USER domain.tld
Step 3 — Restore website files
# Typical cPanel layout after extract:
# .../homedir/public_html or .../homedir/domain.tld
WEBROOT=/home/USER/web/domain.tld/public_html
rsync -aH --info=stats2 /root/cpanel-extract/*/homedir/public_html/ "$WEBROOT/"
chown -R USER:USER /home/USER/web/domain.tld
find "$WEBROOT" -type d -exec chmod 755 {} \;
find "$WEBROOT" -type f -exec chmod 644 {} \;
Step 4 — Recreate databases and import SQL
v-add-database USER dbname dbuser 'DB_PASSWORD'
# Hestia names often become user_dbname / user_dbuser — check:
v-list-databases USER plain
mysql -u user_dbuser -p user_dbname < /root/cpanel-extract/*/mysql/dbname.sql
# Or if you used a standalone dump:
mysql -u user_dbuser -p user_dbname < /root/site.sql
mysql -e "SHOW TABLES FROM user_dbname;" | head
Update application config (for WordPress, wp-config.php) with the new DB name, user, password, and usually localhost as host.
cd /home/USER/web/domain.tld/public_html
grep -E "DB_NAME|DB_USER|DB_PASSWORD|DB_HOST" wp-config.php
Step 5 — Restore mailboxes
# Create each mailbox in Hestia first:
v-add-mail-account USER domain.tld localpart 'MAIL_PASSWORD'
# Copy Maildir content from cPanel homedir/mail/domain/localpart
MAILSRC=/root/cpanel-extract/*/homedir/mail/domain.tld/localpart
MAILDST=/home/USER/mail/domain.tld/localpart
rsync -aH "$MAILSRC/" "$MAILDST/"
chown -R USER:mail /home/USER/mail/domain.tld
# Restart mail stack if needed:
systemctl restart dovecot exim4
# Quick IMAP login test from the server if doveadm is available:
doveadm auth test localpart@domain.tld
Step 6 — SSL on the new host (before or immediately after DNS)
# With DNS A record pointing to the VPS (or use temporary hosts-file test):
v-add-letsencrypt-domain USER domain.tld www.domain.tld
v-list-web-domain-ssl USER domain.tld
# Force HTTPS redirect in Hestia UI or:
v-add-web-domain-ssl-force USER domain.tld
nginx -t && systemctl reload nginx
# Verify certificate names:
echo | openssl s_client -connect domain.tld:443 -servername domain.tld 2>/dev/null | openssl x509 -noout -subject -dates
If you still have commercial cert files from cPanel, upload cert, key, and CA bundle in Hestia → Edit Domain → SSL rather than forcing Let’s Encrypt.
Step 7 — Cron, PHP, and final checks before DNS
# Recreate crons from cPanel crontab extract if present
crontab -u USER -l
# Test site on VPS IP via hosts file on your PC:
# YOUR_VPS_IP domain.tld www.domain.tld
curl -I http://127.0.0.1 -H "Host: domain.tld"
tail -n 50 /var/log/nginx/domains/domain.tld.error.log
tail -n 50 /var/log/apache2/domains/domain.tld.error.log 2>/dev/null
systemctl restart php8.1-fpm 2>/dev/null || systemctl restart php8.2-fpm
Only when HTTP 200, admin login, forms, and a test mail send/receive work should you lower TTL (e.g. 300), point A/AAAA to the VPS, then move MX after mailbox sync is confirmed.
How to fix each common issue (DIY)
1. Incomplete backup — email or SSL folders missing
Symptoms: public_html restored; Roundcube empty; no cert files; tar listing has no mail/ or ssl/.
- Do not cut DNS. Keep the old host authoritative.
- In cPanel, run a new Full Account Backup (not home-only).
- On download, list the archive and confirm mail and mysql paths exist (commands above).
- Re-upload, re-extract, and re-run only the mail and SQL rsync/import steps.
Call Fixwebnode when the host’s backup tool silently omits accounts or the tarball is corrupt and you cannot regenerate it.
2. Database connected on shared host, refused on VPS
Symptoms: “Error establishing a database connection”, SQLSTATE 1045/1049, or empty tables.
- Confirm DB and user exist:
v-list-databases USER plain - Import the dump again and check table count.
- Align wp-config (or app .env) to Hestia’s user_dbname naming.
- Test:
mysql -u user_dbuser -p -e "USE user_dbname; SHOW TABLES;" - If collation errors appear, convert tables carefully or import with matching charset flags.
mysql -u user_dbuser -p user_dbname -e "SHOW TABLE STATUS\G" | head -n 40
grep -n "DB_" /home/USER/web/domain.tld/public_html/wp-config.php
Book a specialist when multiple apps share unclear credentials or stored procedures fail on MariaDB 10.11+.
3. SSL warning after DNS cutover
Symptoms: browser NET::ERR_CERT_COMMON_NAME_INVALID, or site half HTTP.
- Confirm A record hits the VPS:
dig +short domain.tld A - Re-issue Let’s Encrypt in Hestia for apex and www.
- Enable force-HTTPS; purge CDN cache if used.
- Check app URLs still say https://.
v-delete-letsencrypt-domain USER domain.tld
v-add-letsencrypt-domain USER domain.tld www.domain.tld
curl -I https://domain.tld
Escalate when CAA records block issuance, or a reverse proxy/CDN terminates SSL incorrectly.
4. PHP white screen or plugin fatals
Symptoms: blank page; error log shows deprecated syntax or missing extension.
- Match PHP version to the old host via Hestia backend template.
- Enable required modules (intl, mbstring, gd, zip) for that PHP-FPM pool.
- Restart the matching php-fpm service; re-test.
v-change-web-domain-backend-tpl USER domain.tld PHP-8_1
systemctl restart php8.1-fpm
tail -n 100 /var/log/nginx/domains/domain.tld.error.log
5. Inbound mail missing after cutover
Symptoms: outbound works via webmail; external senders bounce or mail stays on old host.
- Check MX:
dig +short domain.tld MX - Keep MX on old host until mailbox rsync is complete, then point MX to the VPS hostname Hestia expects.
- Update SPF to include the new VPS IP; republish DKIM from Hestia.
- Send a test from an external account and watch Exim logs.
tail -n 100 /var/log/exim4/mainlog
v-list-mail-domain USER domain.tld
When DIY is enough vs when to book Fixwebnode
DIY is reasonable for a single brochure or WordPress site, one database, few mailboxes, and a maintenance window you control. You should already be comfortable with SSH, DNS TTL, and reading Nginx/PHP logs.
Book remote help from Fixwebnode when any of these apply: multi-domain cPanel accounts, large mail stores, custom SSL or payment callbacks, WooCommerce or other checkout apps, zero-downtime dual-delivery mail, or a failed cutover that already lost inbound mail. Support is remote/digital for clients across Australia—panel work, log diagnosis, and controlled DNS steps—without treating the job as a freelance bid board.
Talk to Fixwebnode about your migration
If you want a checked runbook—full cPanel backup validation, HestiaCP provisioning, restore, SSL, and mail cutover—start a conversation with the team via Fixwebnode Ubuntu Linux server support. Bring your domain list, approximate mail size, and whether DNS is at the registrar or a CDN. We will map a safe sequence so the move stays boring in the best way.
Coverage and remote delivery details sit on the service areas page. When the migration is done and you still need application install or PHP tuning on the new box, the same specialist path applies.