





 Multi-Vendor & Complex SaaS Marketplaces
 Modern Headless & Jamstack Web Development
 High-End Corporate & Specialized Business Websites
 Advanced API, Checkout & Database Troubleshooting
Self-Hosted Control Panel for $0: Ditch cPanel in Australia
Stop paying $699/year for cPanel. Install HestiaCP, Virtualmin or CyberPanel with one command, keep unlimited domains, one-click WordPress and free SSL—plus the DIY fixes Australian site owners need when installs go sideways.
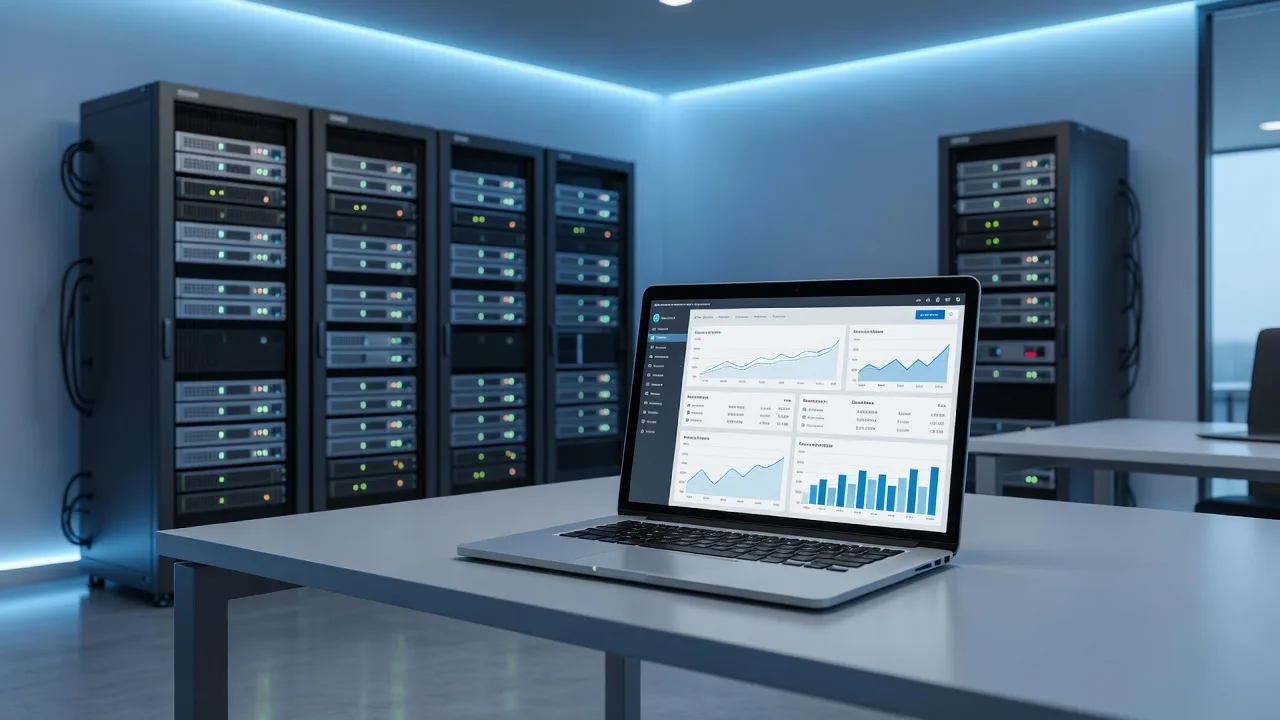
If you run WordPress for a small business in Australia and still pay a yearly cPanel licence, you can replace that stack with a free self-hosted control panel and keep the same dashboard workflow. This guide walks through one-command installs for HestiaCP, Virtualmin and CyberPanel, the failure modes we see most often on remote VPS work, and when to hand the job to a specialist.
Many Australian owners hit the same wall: hosting renewals quote hundreds for cPanel while the site only needs domains, SSL, email and one-click WordPress. Fixwebnode provides remote WordPress Support focused on migrating off paid panels, hardening the new stack, and keeping sites online without marketplace middlemen.
Why a $0 self-hosted panel matters for WordPress sites
cPanel is familiar, but the licence cost stacks on top of the VPS. Open-source panels give you unlimited domains (subject to server resources), Let's Encrypt SSL, file manager, databases, email and WordPress installers—without the annual fee. The catch is the install and the first week of DNS, PHP and certificate quirks. Done cleanly on a fresh Ubuntu or AlmaLinux VPS, the result feels like the dashboard your client already knows.
We work remotely across Australia. For geography and coverage notes see all service areas. The rest of this post is the practical runbook.
What breaks when Australians switch from cPanel to a free panel?
Most failed cutovers share the same root causes: wrong OS baseline, port or firewall blocks, and SSL or DNS not matching the new vhost layout. Use the table as a quick triage map, then follow the detailed fixes below.
| Symptom | Quick fix | When to call Fixwebnode |
|---|---|---|
| Installer exits or panel URL never loads | Confirm clean OS, open 8083/8090/10000, re-run install script | VPS is half-configured or you lack root SSH |
| WordPress one-click site shows blank or 502 | Check PHP-FPM pool, nginx/Apache error log, restart web stack | Multiple sites down after PHP version change |
| SSL stays on “pending” or browser warns | Fix A/AAAA DNS, force Let's Encrypt renew, check rate limits | Mail + web certs both failing after migration |
Common issues after a free control-panel install
These three problems are distinct. Each has its own cause, commands and escalation path.
- Issue 1 — Installer fails or the panel never answers on HTTPS. Symptom: script stops on package errors, or browser times out on the admin port.
- Issue 2 — One-click WordPress returns 502 Bad Gateway or a white screen. Symptom: domain resolves, panel is up, but PHP never serves the site.
- Issue 3 — Built-in SSL will not issue or renew. Symptom: Let's Encrypt errors in the panel UI; HTTP works, HTTPS does not.
One install command for HestiaCP, Virtualmin and CyberPanel
Start from a fresh VPS (no prior cPanel/Plesk). Prefer Ubuntu 22.04 LTS or AlmaLinux 8/9 depending on the panel docs. You need root SSH, a hostname that resolves, and ports free for the panel UI.
HestiaCP (lightweight, cPanel-like UI)
Step 1 — Update the box and set a FQDN
sudo apt update && sudo apt upgrade -y
sudo hostnamectl set-hostname panel.example.com
echo "127.0.0.1 panel.example.com" | sudo tee -a /etc/hosts
Step 2 — Run the official installer
wget https://raw.githubusercontent.com/hestiacp/hestiacp/release/install/hst-install.sh
sudo bash hst-install.sh
Answer the prompts (email, hostname, optional Exim/Dovecot, Quitter, etc.). When it finishes, note the admin URL (usually https://SERVER_IP:8083) and the password printed to the terminal.
Step 3 — Verify
sudo systemctl status hestia
sudo ss -tlnp | grep -E '8083|80|443'
Virtualmin (Webmin-based, strong multi-domain)
Step 1 — Baseline packages
sudo dnf update -y # Alma/RHEL family
# or: sudo apt update && sudo apt upgrade -y
Step 2 — Official GPL installer
wget https://software.virtualmin.com/gpl/scripts/virtualmin-install.sh
sudo sh virtualmin-install.sh
Step 3 — Verify Webmin/Virtualmin
sudo systemctl status webmin
sudo ss -tlnp | grep 10000
Open https://SERVER_IP:10000, complete the post-install wizard, then enable Let's Encrypt and the WordPress installer script.
CyberPanel (OpenLiteSpeed + one-click WP)
Step 1 — Clean OS, then install
sudo su -
sh <(curl https://cyberpanel.net/install.sh || wget -O - https://cyberpanel.net/install.sh)
Choose OpenLiteSpeed, full install, and set the admin password when prompted. Default UI port is 8090.
Step 2 — Verify
sudo systemctl status lscpd
sudo ss -tlnp | grep -E '8090|80|443'
cyberpanel version
After any panel install, create the first user package, add the client domain, point DNS A/AAAA records at the VPS, then use the built-in WordPress installer. That is the “same dashboard, unlimited domains, one-click WordPress, built-in SSL” path without a cPanel invoice.
Fix issue 1: installer fails or panel URL never loads
Root causes we see on Australian VPS providers: minimal images missing curl/wget, hostname not a FQDN, cloud firewall still closed on the admin port, or a previous control panel left packages half-removed.
Step 1 — Confirm you are on a supported clean OS
cat /etc/os-release
uname -a
Step 2 — Open admin and web ports at the cloud firewall and on the host
# UFW example (Hestia 8083, CyberPanel 8090, Virtualmin 10000)
sudo ufw allow 22/tcp
sudo ufw allow 80/tcp
sudo ufw allow 443/tcp
sudo ufw allow 8083/tcp
sudo ufw allow 8090/tcp
sudo ufw allow 10000/tcp
sudo ufw enable
sudo ufw status
Also open the same ports in your provider’s security group / network ACL.
Step 3 — Re-run only after wiping conflicting web stacks
sudo systemctl stop apache2 nginx httpd 2>/dev/null
sudo apt purge apache2 nginx -y 2>/dev/null || true
Then re-run the panel install script from the section above. If the script still dies on a package name, capture the last 40 lines of output before retrying on a brand-new VPS image—half-broken boxes waste more time than a rebuild.
Step 4 — Prove the listener
sudo ss -tlnp
curl -Ik https://127.0.0.1:8083 # adjust port per panel
When to call Fixwebnode: you only have a non-root account, the provider image is custom/locked, or the panel installed but admin login loops. Remote recovery is faster than guessing package conflicts.
Fix issue 2: one-click WordPress shows 502 or a white screen
The panel is healthy; PHP-FPM or the web server is not matching the vhost. Symptoms: 502 Bad Gateway, “primary script unknown”, or empty response with HTTP 200.
Step 1 — Read the error log for that domain
# Hestia / nginx-style paths often look like:
sudo tail -n 80 /var/log/nginx/domains/example.com.error.log
# Apache-style:
sudo tail -n 80 /var/log/httpd/example.com-error_log
# OpenLiteSpeed / CyberPanel:
sudo tail -n 80 /usr/local/lsws/logs/error.log
Step 2 — Confirm PHP-FPM is running for the selected version
sudo systemctl status php8.2-fpm || sudo systemctl status php-fpm
sudo ls /run/php/ || sudo ls /var/run/php-fpm/
In the panel UI, set the domain to a PHP version that actually has a pool running (8.1/8.2 are common for current WordPress).
Step 3 — Restart the web stack cleanly
# Hestia helper (if available):
sudo v-restart-web
# or manual:
sudo systemctl restart php8.2-fpm nginx
# CyberPanel / OLS:
sudo systemctl restart lsws
# Virtualmin / Apache:
sudo systemctl restart httpd || sudo systemctl restart apache2
Step 4 — Fix file ownership for WordPress
# Replace user/path with the domain owner the panel created
sudo chown -R user:user /home/user/web/example.com/public_html
find /home/user/web/example.com/public_html -type d -exec chmod 755 {} \;
find /home/user/web/example.com/public_html -type f -exec chmod 644 {} \;
Step 5 — Smoke-test PHP
echo "<?php phpinfo();" | sudo tee /home/user/web/example.com/public_html/info.php
curl -I http://example.com/info.php
# remove info.php immediately after testing
sudo rm /home/user/web/example.com/public_html/info.php
When to call Fixwebnode: several production sites 502 after a bulk PHP upgrade, or the one-click installer created the DB user but WordPress cannot connect. That is a short remote session, not a full rebuild.
Fix issue 3: built-in SSL stays pending or browsers warn
Let's Encrypt needs port 80 reachable world-wide and DNS already pointing at this VPS. Wrong A records, IPv6-only mismatches, and prior rate limits are the usual Australian VPS gotchas.
Step 1 — Prove DNS from outside your laptop
dig +short A example.com
dig +short AAAA example.com
curl -4 -I http://example.com
curl -6 -I http://example.com
A and AAAA must match the VPS addresses you intend to serve. If you do not use IPv6, remove the AAAA record rather than leaving a dead one.
Step 2 — Confirm ACME challenge path is reachable
sudo mkdir -p /home/user/web/example.com/public_html/.well-known/acme-challenge
echo ok | sudo tee /home/user/web/example.com/public_html/.well-known/acme-challenge/test.txt
curl -I http://example.com/.well-known/acme-challenge/test.txt
Step 3 — Force issue/renew from CLI where the panel allows it
# Hestia example:
sudo v-add-letsencrypt-domain admin example.com www.example.com
# Certbot fallback if the panel wrapper fails:
sudo certbot certonly --webroot -w /home/user/web/example.com/public_html -d example.com -d www.example.com
Step 4 — Reload the web server and verify the chain
sudo systemctl reload nginx httpd lsws 2>/dev/null
echo | openssl s_client -connect example.com:443 -servername example.com 2>/dev/null | openssl x509 -noout -dates -subject
If Certbot reports rate limits, wait for the window to reset or issue against a single hostname first. Do not hammer the API from cron while debugging.
When to call Fixwebnode: mail hostnames (mail.example.com) and the site cert both fail, or you need a consistent multi-domain SAN layout after a messy cPanel export. SSL plus DNS cutover is a common remote booking for Australian business sites going live on a Friday.
When DIY is enough vs when to book Fixwebnode
DIY is enough when you have full root SSH, a disposable/fresh VPS, one or two domains, and time to follow the numbered steps above. Install the panel, point DNS, issue SSL, run the WordPress installer, and take a snapshot.
Book a specialist when any of these are true:
- Live email and multiple WordPress sites must move with near-zero downtime
- The old cPanel box still holds databases, cron jobs and custom PHP handlers you cannot inventory alone
- Installer or SSL failures repeat after a clean OS rebuild
- You need hardening, offsite backups and a documented handoff for a non-technical owner
Fixwebnode works as a direct remote provider for WordPress and control-panel work in Australia—not a freelance marketplace. You speak with the specialist handling the server, not a bidding board.
Talk through your cPanel exit plan
If your client is still on a paid cPanel renewal and you want the same style of dashboard with unlimited domains, one-click WordPress and built-in SSL on a $0 panel licence, start with a short remote review of the current host and DNS.
Book a conversation through WordPress Support for Australian small businesses. Bring the VPS provider name, OS version and whether email stays on the same box—we will map HestiaCP, Virtualmin or CyberPanel to that workload and only touch production when the cutover path is clear.