

 Multi-Vendor & Complex SaaS Marketplaces
 Modern Headless & Jamstack Web Development
 High-End Corporate & Specialized Business Websites
 Advanced API, Checkout & Database Troubleshooting
Surviving AWS Spot Evictions on Local GPU Gear in AU
When AWS reclaim your cheap spot GPUs mid-training, local workstations and storage take the hit. Learn the hardware checks Australian small teams use to keep checkpoints safe—and when to book Fixwebnode on-site.
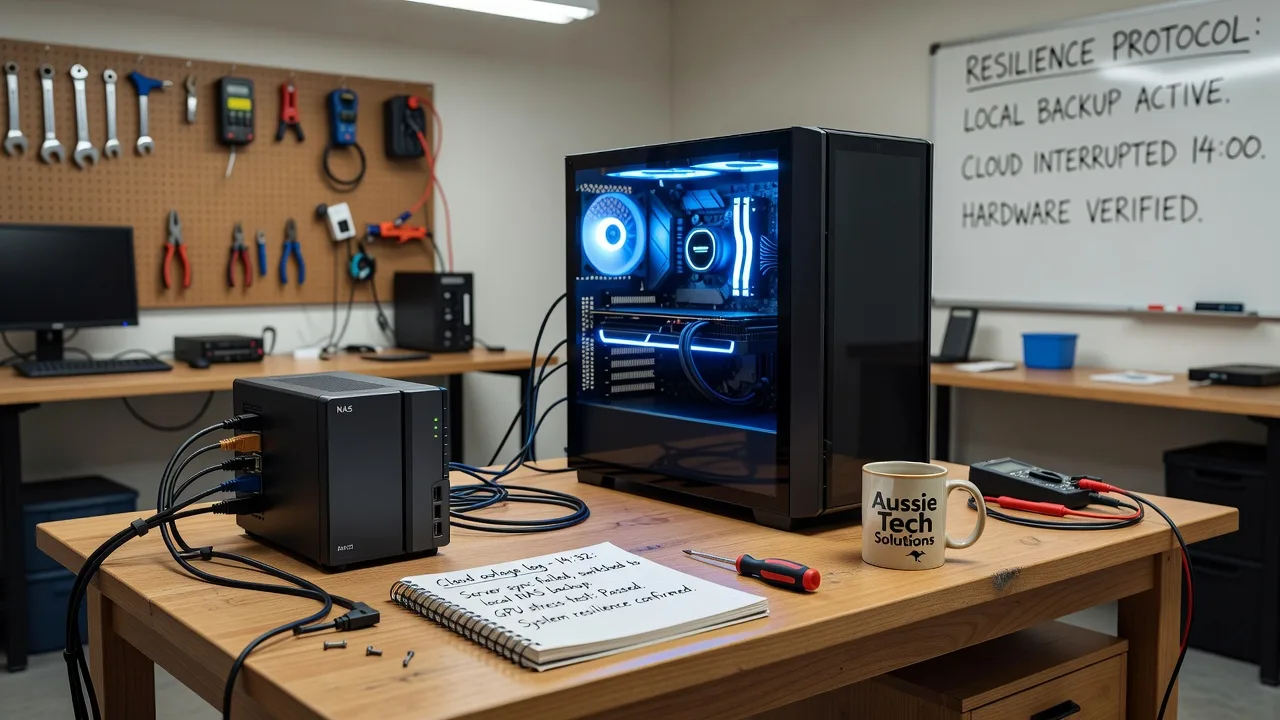
What happens when AWS takes back your cheap GPUs mid-training? You build a cluster that doesn't care—and you keep the local hardware that holds your checkpoints healthy.
For sole traders, studios, and small businesses in Australia running training or batch jobs on Spot capacity, an eviction is rarely “just a cloud message.” It dumps unfinished state onto a desk GPU box, a NAS, or a spare workstation that was never meant to absorb a sudden failover. Heat, disk errors, and half-written checkpoints show up as real device faults you can see and touch. Fixwebnode works directly with individuals and local operators on that on-site side: inspecting the machines that catch the fallout, stabilising storage, and getting you back to a predictable loop without marketplace middlemen.
Why spot eviction matters for your local kit
Spot pricing is attractive until capacity disappears with only a short warning. If your design assumes the instance will finish the epoch, the weak link is almost always local: the drive receiving the last checkpoint, the GPU workstation you fail over to, or the uplink gear between the office and the region you use. Surviving AWS Spot Instance Evictions means treating those devices as part of the cluster—not as afterthoughts.
What should I check on my local GPU workstation after a spot eviction in Australia?
After an eviction, power down only if the machine is unstable, then inspect cooling, storage health lights, and whether the latest checkpoint folder finished writing. Confirm the workstation still posts, the GPU is seated and recognised in the vendor control panel, and backup media holds a copy from before the interruption. If the chassis will not POST, the drive clicks, or the GPU shows artefacts under load, stop DIY stress tests and book a local inspection.
| Symptom | Quick local check | When to call Fixwebnode |
|---|---|---|
| Training state missing after eviction | Verify checkpoint folder size/date on the desk NAS or internal SSD | Drive not mounting, SMART warnings, or clicking noises |
| Failover PC throttles or shuts down | Feel exhaust temp; clear dust; reseat power connectors cold | Repeated thermal shutdowns or PSU smell/heat |
| GPU not detected after heavy catch-up run | Reseat card and power cables; try a different PCIe slot if available | No display, artefacts, or board will not enumerate |
Common local issues after Spot Instance eviction
These problems show up repeatedly when cheap cloud GPUs vanish and the load lands on gear in the office or home studio.
1. Checkpoint disk corruption or “missing” last save
Symptoms: Checkpoint folder timestamp is older than the eviction notice; training framework reports incomplete snapshot; external SSD was unplugged mid-write; OS prompts to repair the volume on boot.
2. Local failover GPU workstation overheats or power-cycles
Symptoms: Fans scream within minutes of resuming training; system freezes; unexpected reboot; chassis near the exhaust is too hot to touch; job dies at the same step every time.
3. GPU or riser faults after sudden full-load catch-up
Symptoms: Black screen on boot after a long catch-up run; vendor GPU panel shows no device; coloured artefacts; PCIe link drops when the room warms up.
4. Desk network box or NAS drops while syncing state
Symptoms: Mapped share disconnects during the eviction window; NAS LED amber; half-copied checkpoint files; laptop sees the share only after a power cycle of the switch.
How to fix each issue (DIY first)
Fix 1 — Recover and protect checkpoint storage
Goal: stop further writes that could damage a failing volume, then confirm you still have a usable last-known-good save.
Step 1 — Freeze risky writes
Pause training UIs and any auto-sync tools aimed at the suspect disk. If the OS already flagged the volume, do not format it.
Step 2 — Visual and mount check
Note activity LEDs, unusual heat, or clicking. Try the drive on a known-good cable/port. Record whether the volume mounts read-only or not at all.
Step 3 — Copy out what you can
If the volume mounts, copy the newest complete checkpoint set to a second physical disk before any repair utility runs. Prefer a full folder copy over “repair in place.”
Step 4 — Basic health read
Use the drive maker’s desktop health tool or the OS disk utility to read SMART-style status only. If reallocated sectors climb or the tool recommends backup-and-replace, schedule replacement—do not keep training on that medium.
Step 5 — Reinstate a simple dual-landing habit
From here on, land checkpoints on two local targets (internal SSD plus NAS or second disk) so the next Spot Instance eviction does not strand a single copy.
When to call Fixwebnode: volume will not mount, odd noises, or you only have one copy of weeks of work. Bring the drive and a note of the approximate eviction time; we inspect on-site or via drop-off across our Australia service area.
Fix 2 — Cool and power-stabilise the failover workstation
Goal: make the local box safe to absorb a multi-hour catch-up after cloud GPUs disappear.
Step 1 — Cold inspection
Shut down, unplug, and open the side panel. Photograph cable routing. Check GPU power plugs are fully seated (all required connectors, not daisy-chained cheap splitters if the card needs dedicated leads).
Step 2 — Dust and airflow
Clean intake filters and GPU/ heatsink fins with short bursts of air. Ensure exhaust is not blocked by a wall or enclosure. Refit panels so the designed airflow path returns.
Step 3 — Thermal sanity run
Boot to the desktop only. Watch GPU and CPU temperatures in the vendor panel at idle, then with a short controlled load—not an overnight full train yet. If temps spike uncontrollably or the machine cuts power, stop.
Step 4 — Power path
Confirm the wall outlet and any powerboard handle the workstation alone during training. Swollen PSU capacitors, burning smell, or brown-out reboots mean the supply or upstream power needs specialist attention before another eviction forces an overnight run.
Step 5 — Room and schedule
Place the chassis where intake air is cool. After an eviction, resume in shorter supervised segments until thermal behaviour is boring and predictable.
When to call Fixwebnode: shutdowns continue after cleaning, or you suspect PSU/GPU power delivery faults. Expect us to inspect the chassis, cooling path, and power connectors in person rather than guessing from logs alone.
Fix 3 — Reseat and validate the local GPU path
Goal: restore a clean PCIe/display path so catch-up training can use the card you already own.
Step 1 — Power-off reseat
Full shutdown, PSU switch off, ground yourself. Remove the GPU, inspect the slot and gold fingers for dust or damage, and reseat firmly until the retention clip locks. Refit every power connector until they click.
Step 2 — Minimal boot
Connect one display directly to the GPU (not a leftover iGPU-only cable path if you intend discrete rendering). Confirm POST and that the OS enumerates the card in its control panel.
Step 3 — Alternate slot or cable
If the card vanishes under load, try a primary x16 slot, a known-good display cable, and avoid unpowered risers for full training loads.
Step 4 — Short supervised job
Run a brief job that touches GPU memory. Watch for artefacts, driver resets, or link-speed drops. Abort on the first visual glitch.
When to call Fixwebnode: no POST with the card installed, persistent artefacts, or damaged slot/retainer. Bring the workstation (or GPU + board notes) and a backup of critical project folders on separate media.
Fix 4 — Stabilise the desk network path to checkpoint storage
Goal: keep NAS or shared disk reachable for the entire eviction-to-resume window.
Step 1 — Physical layer
Reseat Ethernet at the PC, switch/router, and NAS. Replace obviously kinked patch leads. Check NAS and switch status LEDs during a manual file copy.
Step 2 — Power cycle in order
NAS first, then switch, then PC—waiting for each to become ready. Retry a medium-sized folder copy that mirrors checkpoint size.
Step 3 — Avoid flaky intermediate hubs
For checkpoint traffic, prefer a short direct path to the NAS over random Wi‑Fi hops. If Wi‑Fi is mandatory, test a wired laptop on the same share to isolate wireless drops.
Step 4 — Local mirror before long jobs
Before relying on Spot again, keep a local SSD mirror of the active run so a share blip cannot erase the only copy mid-eviction.
When to call Fixwebnode: intermittent disconnects after cable swaps, NAS not enumerating drives, or switch ports dying. We handle on-site inspection of the desk networking and storage box as part of the same survival path for Spot Instance eviction fallout.
When DIY is enough vs when to book Fixwebnode
DIY is enough when the workstation still POSTs, temperatures normalise after cleaning, volumes mount cleanly, and you successfully copied a complete checkpoint set to a second disk. Document what you changed so the next eviction is less chaotic.
Book a specialist when data is trapped on a failing drive, hardware will not POST, thermal or power faults repeat, or you need a same-visit inspection of GPU, PSU, and storage together. Fixwebnode is a direct provider for individuals, sole traders, and local operators—not a bid board. Service coverage is listed on our all service areas hub, with Australia detail on the regional page linked above. Bring or have ready: the affected PC or drives, any external checkpoint disks, and a short note of when the Spot interruption hit and what failed first (disk, heat, GPU, or network).
Keep training resilient—talk to us
Surviving AWS Spot Instance Evictions is half architecture and half hardware discipline: dual local landings for checkpoints, a failover box that stays cool under sudden load, and storage you trust when the cloud disappears mid-epoch. If your desk GPU rig, NAS, or workstation is the weak link after the latest reclaim, start a conversation with Fixwebnode and book through our landing page for individuals and local operators: https://fixwebnode.com.au/website-repair-australia. We will focus on the physical faults in front of you so the next eviction is an inconvenience, not a lost week of work.