



 Multi-Vendor & Complex SaaS Marketplaces
 Modern Headless & Jamstack Web Development
 High-End Corporate & Specialized Business Websites
 Advanced API, Checkout & Database Troubleshooting
Staging Site Setup for Client Work: Safe Steps for Australia
Stop testing on the live site. Learn why staging matters, how to add a subdomain, clone files and database, lock it with basic auth, test edits, and push to live—plus common Australian DIY fixes and when Fixwebnode should step in.
If you support client websites in Australia and still tweak plugins, layouts, or forms on the live domain, you are one bad save away from downtime, lost leads, or a broken checkout. This guide walks through a practical staging workflow on local/on-site hardware and typical hosting control panels: why you need staging, the real risk of live testing, creating a staging subdomain, cloning files and database, adding basic authentication, verifying an edit, and pushing safely to live. Fixwebnode is a direct website support specialist for individuals, sole traders, and local operators—not a freelance marketplace—and can help on-site or remotely when the panel, disk, or clone goes wrong. Start with Fixwebnode website repair across Australia if you already have a broken live site and need a calm recovery path.
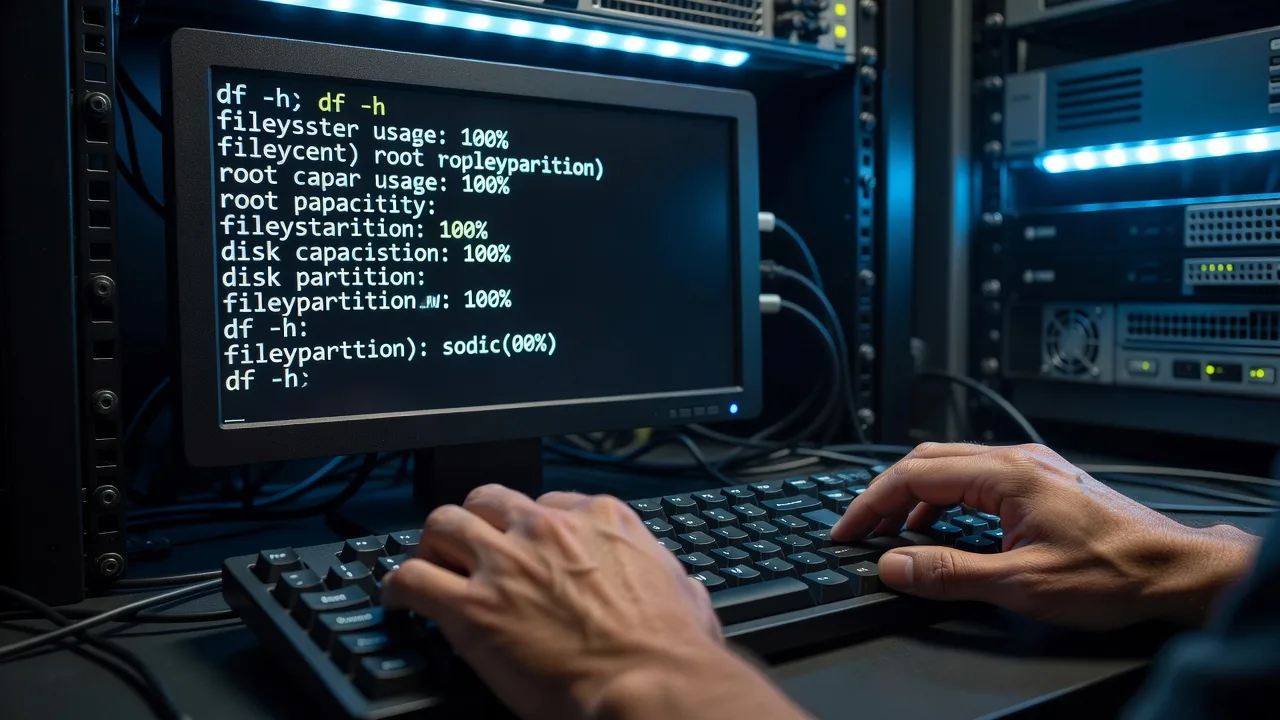
Why does my office PC choke when I clone a client site for staging in Australia?
Large site copies often fail because the workstation disk is nearly full, the drive is failing, or the browser/control-panel session times out while the archive is still writing—not because “staging is impossible.” Free space, a healthy drive, and a complete file plus database backup matter more than rushing the upload. If the machine freezes, clicks slowly, or drops the transfer mid-way, stop and inspect the hardware before you touch the live site again.
| Symptom | Quick check | When to call Fixwebnode |
|---|---|---|
| Clone upload stalls or PC freezes | Confirm free disk space and try a smaller archive | Repeated freezes, clicking noises, or boot errors |
| Staging blank after import | Confirm document root and DB name in the panel | White screen persists after correct paths |
| Public can still open staging | Re-check directory password / basic auth | Auth keeps dropping or SSL conflicts remain |
Why a staging environment matters (and the risk of testing on live)
A staging site is a private copy of the client website used only for experiments. You change themes, forms, plugins, or copy there first, confirm behaviour, then promote the proven change to production. Testing on the live site risks broken layouts during business hours, half-updated databases, payment or booking failures, SEO-damaging soft 404s, and client trust damage when customers see unfinished work.
For small businesses and homeowners running a brochure or booking site in Australia, even a short outage during lunch can mean missed calls and form spam. Staging keeps the public URL stable while you work. If your agency workflow needs deeper build support later, Fixwebnode also documents related services such as white-label full-stack development for creative agencies in Richmond, but this article stays on the staging runbook itself.
Create the staging subdomain in the control panel
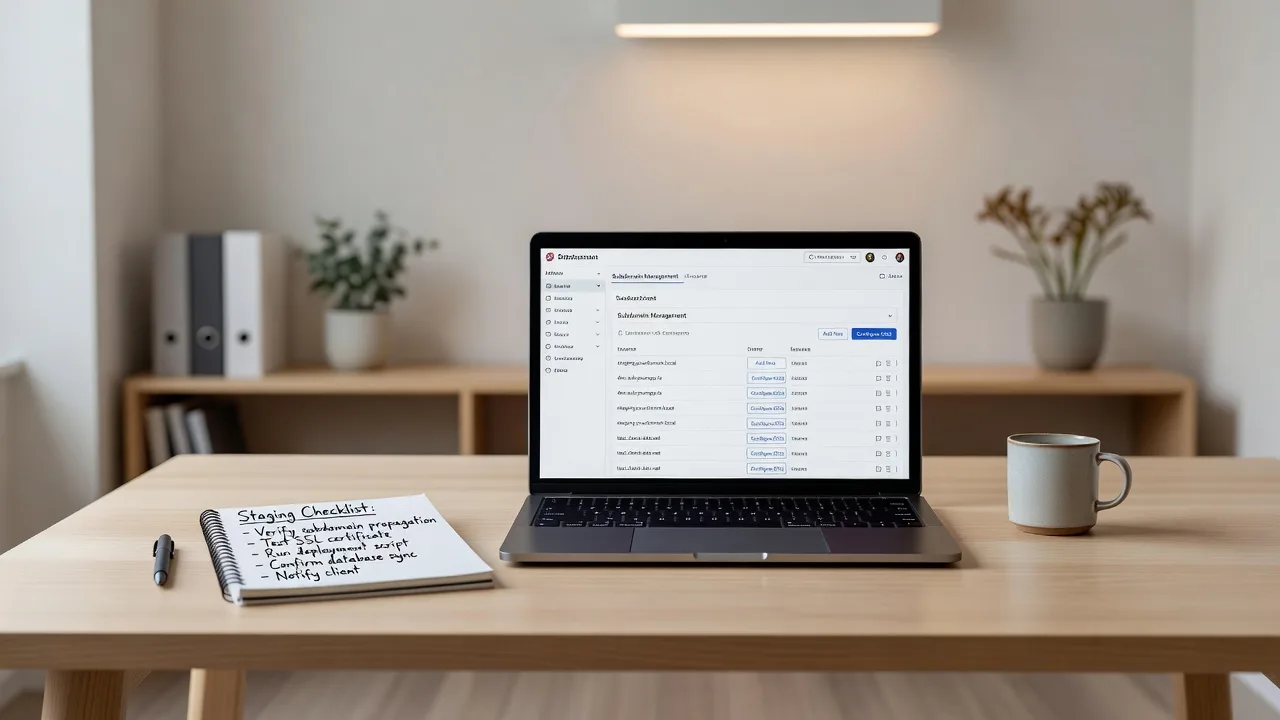
Most Australian shared and VPS hosts expose subdomains under Domains or Subdomains in cPanel-style panels. You are aiming for something like staging.clientdomain.com.au pointed at its own folder, not the live document root.
Step 1 — Open Domains / Subdomains
Log into the hosting control panel with the account that owns the live site. Open the Subdomains (or Domains) tool.
Step 2 — Add the staging name
Enter a clear prefix such as staging, choose the correct root domain, and accept or set a dedicated document root (for example a folder named staging or public_html/staging). Avoid pointing staging at the same folder as the live site.
Step 3 — Wait for DNS and confirm
If DNS is at the same host, the subdomain often resolves quickly. Open the staging hostname in a private browser window. An empty directory listing or default placeholder is fine at this stage; seeing the full live site usually means the document root is wrong.
Step 4 — Note SSL
Issue or assign a certificate for the staging hostname in the panel’s SSL section so browsers do not block the basic-auth prompt later. Do not skip HTTPS on staging if the live site forces HTTPS.
Clone the live site: files and database
Cloning means a faithful copy of files plus a database dump restored into a new database, then configuration updated so staging talks to the staging database and staging URL only.
Step 1 — Back up live first
In the control panel, create a full account or at least a home-directory backup and a separate database export. Download copies to a local drive with free space. On the workstation, check storage health: if the disk is nearly full or the laptop has been crashing, free space or use another machine before large downloads. Bring the laptop and a known-good backup drive if you book an on-site visit.
Step 2 — Copy files into the staging document root
Use the panel File Manager to copy the live web root into the staging folder, or upload a zip of the site and extract it there. Confirm key paths (CMS root, wp-config.php or equivalent, uploads/media folders) landed inside staging—not nested one folder too deep.
Step 3 — Create a staging database and user
In MySQL/MariaDB Databases, create a new database and user, grant all privileges on that database only, and save the credentials.
Step 4 — Import the live dump
Import the SQL dump into the new database via phpMyAdmin or the panel import tool. If the upload limit blocks a large dump, split the dump in the panel tools if available, or ask the host to raise the limit temporarily. Do not import into the live database name.
Step 5 — Point staging config at staging resources
Edit the staging site’s configuration so database name, user, password, and host match the new database. Update the site URL / home URL (or equivalent) to the staging hostname. For CMS platforms that store absolute URLs in content, run a careful search-and-replace for the live domain → staging domain inside the staging database only. Never run that replace on production.
Step 6 — Verify the clone loads
Load the staging hostname. You should see a visual twin of the live site. Check one media image and one inner page. If every link jumps back to the live domain, URL replacement is incomplete.
Protect staging with basic authentication
Search engines and curious visitors should not index unfinished work. Directory password protection (HTTP basic auth) is the usual control-panel control.
Step 1 — Enable directory privacy
In the panel, open Directory Privacy / Password Protect Directories. Select the staging document root.
Step 2 — Create a user
Turn protection on, set a realm label such as “Client staging”, and create a strong username and password. Store them in your password manager—not in the client’s public ticket thread.
Step 3 — Confirm the prompt
Open staging in a private window. You must get a browser login prompt before HTML appears. If the site loads without a prompt, you protected the wrong folder or a reverse-proxy cache is serving an old response.
Step 4 — Robots and noindex (optional extra)
Keep basic auth as the gate. Optionally add a noindex header or robots rule on staging only, but do not rely on robots alone.
Test changes on staging, then push to live
Step 1 — Make one controlled edit
On staging, change something obvious and low-risk: a footer phone number spelling, a draft page title, or a staging-only test banner. Save and hard-refresh.
Step 2 — Verify behaviour
Confirm the edit appears only on staging. Submit a contact form to a safe inbox, click main navigation, and test mobile width. If the site sends mail, remember deliverability can differ on staging; production mail issues in Australia are a separate track such as SPF/DKIM/DMARC email deliverability resolution after go-live, not a reason to skip staging.
Step 3 — Prepare the push
List exactly what will move: specific files, theme files, plugin folders, and any database rows or export of changed content. Take a fresh live backup again immediately before promotion.
Step 4 — Promote carefully
Copy only the proven files to the live document root, or deploy the approved database changes with a known script/tool—never overwrite live uploads wholesale if clients added media since the clone. Clear caches (plugin, host, CDN) and retest the live URL on phone and desktop.
Step 5 — Watch the first hour
Check forms, login, and a checkout or booking path if present. Keep the pre-push backup until you are confident.
Common staging issues (unique symptoms)
These problems show up often when sole traders and small teams build staging on ordinary office PCs and shared hosting.
- Staging URL still shows the live site or the wrong folder — document root or DNS points at production.
- Design loads but every click bounces to the live domain — database still stores live URLs or a redirect plugin forces production.
- No password prompt; Google or clients can view unfinished pages — basic auth applied to the parent folder, wrong path, or cache.
- Push to live restores an old homepage or breaks forms — full overwrite without a fresh live backup, or mixed file/DB versions.
- Workstation freezes mid-zip or import — local disk full, failing drive, or overheating laptop during large copies.
Fix 1 — Staging shows live content or an empty/wrong tree
Symptoms: staging hostname serves production pages, or File Manager shows an extra nested folder and a default host page.
- In Subdomains, read the document root path for staging and open that exact path in File Manager.
- Confirm CMS entry files sit directly in that root—not in an accidental
public_html/staging/public_htmlnest. - If roots match live, edit the subdomain to a dedicated folder and move files once.
- Purge host cache and retest in a private window.
Call Fixwebnode when the panel offers multiple roots, aliases, or reverse proxies you did not configure yourself.
Fix 2 — Staging redirects hard to the live domain
Symptoms: brief staging flash, then production URL; admin links ignore the staging host.
- On staging only, check site URL settings and any force-HTTPS or domain-redirect plugins.
- Search the staging database for the live hostname and replace with the staging hostname using a purpose-built replace tool that handles serialised data if your CMS needs it.
- Disable redirect plugins on staging temporarily while testing.
- Retest internal links and the login URL.
Book a specialist if serialised options corrupt after a blind replace (classic white screen or truncated options row).
Fix 3 — Basic authentication does not protect staging
Symptoms: no browser prompt; staff share the link and outsiders view drafts.
- Re-open Directory Privacy and select the same path as the staging document root.
- Remove and recreate the protected user; confirm protection is enabled.
- If a CDN sits in front, bypass cache for the staging hostname or pause the CDN on that subdomain.
- Retest from a phone network, not only office Wi-Fi.
Escalate when auth works on HTTP but fails on HTTPS or when multiple .htaccess layers conflict—Fixwebnode can inspect on-site or via guided panel access.
Fix 4 — Push to live caused regressions
Symptoms: old content returned, missing uploads, forms 500, or mixed plugin versions.
- Restore the pre-push live backup if the site is actively losing business.
- Diff what changed: promote only the files proven on staging instead of a full tree replace.
- Re-import only the specific database pieces required, never an older full dump over newer orders or bookings.
- Clear all caches and retest critical paths with the client on the phone.
If you lack a clean pre-push backup, stop DIY overwrites and get recovery help immediately.
Fix 5 — Local hardware fails during clone (on-site reality)
Symptoms: laptop fans scream, copies corrupt, USB drive disconnects, or the PC reboots while phpMyAdmin imports.
- Check free disk space and move large zips off the system drive.
- Copy archives in smaller chunks; verify zip integrity before extract.
- Listen for drive clicks; note freeze patterns—those are hardware signals, not “bad hosting.”
- For drop-off or on-site inspection in Australia, bring the workstation, power supply, and the backup drive; label which archive is live versus staging.
Fixwebnode can continue the staging panel work once the machine can hold a reliable copy. See the Australia service area overview and the full service areas hub for where support is coordinated.
When DIY is enough vs when to book Fixwebnode
DIY is reasonable when you have panel access, a fresh backup, a dedicated subdomain root, a successful file and database copy, working basic auth, and a single clear change set to push. Stop and book Fixwebnode when restores fail, the live site is already damaged, serialised data is corrupted, hardware cannot finish transfers, DNS/SSL for staging will not validate, or the client needs a guarded go-live outside business hours. Fixwebnode works as a direct specialist provider for website support—explain the symptoms, what you already tried, and whether you need remote panel work or local inspection of the machine you use for deployments.
Book a staging setup or recovery conversation
Safe client work means never using the public site as a lab. Create the subdomain, clone files and database into an isolated root, lock it with basic authentication, prove the edit on staging, then push a narrow, backed-up change set to live. If you want a specialist to build that path with you or recover a live site after a bad test, start a conversation through Fixwebnode’s website repair page for Australia and outline the host panel, CMS, and whether the workstation itself is failing mid-clone.