



 Multi-Vendor & Complex SaaS Marketplaces
 Modern Headless & Jamstack Web Development
 High-End Corporate & Specialized Business Websites
 Advanced API, Checkout & Database Troubleshooting
Cracked Laptop Screen Before Uni Monday? Fast Panel Swap Guide
Screen cracked and lectures start Monday? Diagnose common panel faults, try safe workarounds, and know when a workshop screen swap gets you study-ready fast across Australia.
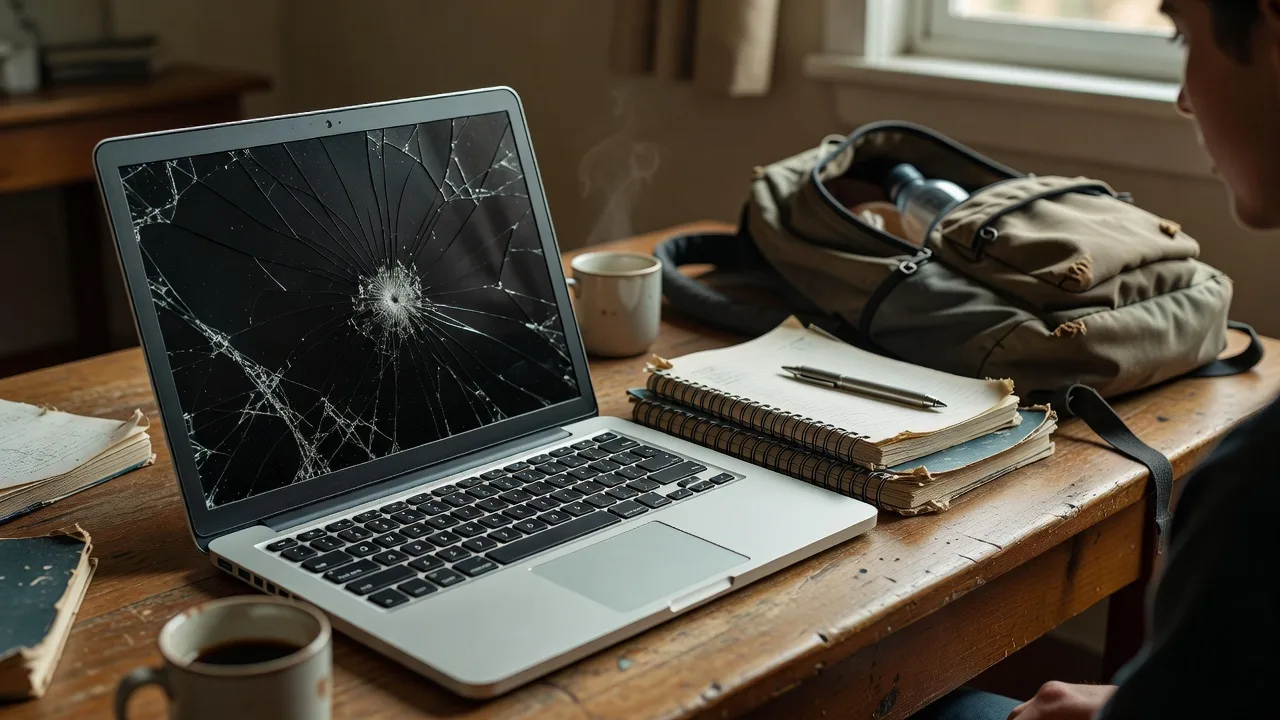
Your laptop screen is cracked, university starts on Monday, and every assignment, login, and lecture slide lives on that machine. This guide is for students, homeowners, and small operators in Australia who need a clear path from “spider-web glass” to a working display—without guessing, without marketplace noise, and with practical steps you can take today.
Bring the unit to a workshop when DIY stops being safe. Fixwebnode handles local laptop support as a direct specialist: replacement screens and panels kept in stock for common Dell, HP, Lenovo, and ASUS models, with a straightforward panel swap when the part matches. Start here for diagnosis and temporary study setups, then book via the Fixwebnode laptop repair landing page when you need the screen changed properly.
Why a cracked screen before Monday matters more than it looks
A cracked panel is not only ugly. Glass shards can scratch the LCD stack further, pressure lines can spread overnight, and many modern lids share the touch layer with the display—so a “small corner crack” can kill brightness, touch, or the whole image. For uni week one you need readable text, stable brightness, and a backup plan if the lid fails completely during enrolment or an online quiz.
Workshop replacement is the reliable fix when the LCD or eDP connection is damaged. The expert approach is simple: identify the exact panel, fit a matching spare, reseat the cable, and verify hinges and bezel clips so you are not back in the same mess by mid-semester. Fixwebnode’s on-site workshop flow is built for that drop-off style repair across Australia service areas, not a freelance bidding board.
Can I still study if my laptop screen is cracked before university starts in Australia?
Yes—for a short window. Use an external monitor or TV for full work, keep the lid angle that shows the least damage, back up files immediately, and avoid pressing the cracked glass. If the image is unreadable, the backlight is dead, or glass is loose, stop DIY and book a panel replacement so you are not locked out on Monday.
| Symptom | Quick interim step | When to book Fixwebnode |
|---|---|---|
| Corner crack, image still clear | External display + gentle lid angle | Before glass spreads or flakes |
| Black blotches, coloured lines | HDMI/USB-C monitor; do not poke LCD | Panel or cable almost certainly failed |
| Touch broken, picture OK (2-in-1) | Mouse/keyboard only; disable touch if jumpy | Digitizer/panel assembly needs swap |
| No image on lid, laptop still boots | External screen + lid closed on external-only | Same-day workshop panel fit when stocked |
Common cracked-screen problems students hit before semester
These issues look similar from the outside but have different causes. Treat them as separate faults so you do not waste time on the wrong fix.
1. Impact spider-web with intact picture (glass or outer layer only)
You see a classic crack pattern from a drop or bag crush, yet Windows still draws a sharp desktop. Risk: loose shards and progressive pressure marks if the lid flexes in a backpack.
2. Vertical or horizontal lines, ink-blot black areas, or half-white wash
The LCD or OLED stack is fractured. Lines often mean row/column driver damage; blotches mean liquid crystal leakage. External monitors still work because the GPU and ports are fine.
3. Flicker, dimming, or image that only appears at certain hinge angles
Often the video cable (eDP) is pinched at the hinge after a fall, or the connector partially unseated. The panel glass may also be cracked, masking a cable fault.
4. Touch digitizer shattered on a 2-in-1 while the image remains usable
Touches register randomly, palm rejection fails, or the cursor jumps. The display layer can still be fine; many assemblies are fused and must be replaced as one unit.
5. “No display” on the lid but fans, keyboard lights, and external HDMI work
Boot chime or Windows sounds confirm life. The internal panel, backlight inverter path (older CCFL rare now), or eDP link failed—common after a hard lid slam with an existing crack.
How to fix each issue step by step
Below: safe DIY first (diagnosis, temporary study setup, damage control). Full panel swaps need correct parts, ESD care, and bezel tools—book a workshop when you reach that line.
Issue 1 — Spider-web crack, picture still clear
Goal: stop the crack spreading and keep you productive until a proper panel is fitted.
- Step 1 — Power down and inspect under bright light. Look for lifted glass, sharp edges, or liquid-looking blotches under the crack. If glass is loose or wet-looking marks appear, skip further lid use and go to workshop drop-off.
- Step 2 — Back up immediately. Copy coursework, browser profiles, and enrolment PDFs to a USB drive or cloud while the machine still runs. Do this before the panel worsens.
- Step 3 — Set a stable lid angle. Open only as far as needed. Avoid one-handed open/close; support the base so hinges do not twist the cracked area.
- Step 4 — Add an external display for real work. HDMI, USB-C DisplayPort, or a simple USB display adapter to a monitor or TV. In Windows: Win+P → Extend or Second screen only for long sessions.
- Step 5 — Soften bag pressure. Carry the laptop in a sleeve with a rigid insert; never put chargers on top of the lid. Do not tape cracked glass with household tape that leaves residue in the bezel gap.
When to call Fixwebnode: any flaking glass, growing black spots, or if you need the portable screen fixed before commuting to campus. A stocked panel swap is faster and safer than forcing a DIY teardown the night before orientation.
Issue 2 — Lines, black blotches, or colour wash after impact
Goal: confirm the GPU is fine, preserve data, and avoid pressing the damaged LCD.
- Step 1 — Connect an external monitor. If the external image is perfect, the fault is almost certainly the lid panel or its cable—not “Windows graphics drivers” as a first guess.
- Step 2 — Photograph the model labels. Bottom case service tag / serial and, if visible on the old panel edge after professional teardown, the panel part number (for example B156HAN-series style codes). Bring photos when you drop the unit off so matching stock can be confirmed.
- Step 3 — Do not massage or heat the blotch. Pressing spreads liquid crystal damage. Hairdryers and “screen repair kits” do not restore a fractured LCD.
- Step 4 — Reduce brightness only if it helps readability. Some cracked panels show less glare when dimmer; this is comfort only, not a repair.
- Step 5 — Plan workshop replacement. Panel swaps involve bezel release, hinge cover screws (often under rubber feet), careful eDP unplug, and torque-friendly reassembly. Wrong screw length into the LCD is a common DIY kill.
When to call Fixwebnode: as soon as lines or blotches appear and you need the laptop portable again. Ask for Laptop Screen Replacement for Dell, HP, Lenovo & ASUS so the correct family of panels is checked against what is on the shelf.
Issue 3 — Flicker or image only at certain hinge angles
Goal: separate a cable/hinge fault from a dead panel before you order the wrong part.
- Step 1 — Slow hinge test. With the laptop on AC power, open and close slowly. Note angles where the image cuts out. Repeat on battery only. Consistent angle dropouts point to cable strain.
- Step 2 — External monitor control test. If HDMI stays solid while the lid flickers, GPU output is healthy.
- Step 3 — Check for cracked plastic at the hinge nests. Broken hinge mounts twist the eDP cable every open. A new screen alone will fail again if hinges are destroyed—mention broken mounts when you book.
- Step 4 — Temporary study posture. Leave the lid at the “good” angle on a desk and use a USB keyboard/mouse so you are not flexing the cable all day.
- Step 5 — No blind cable yanks. Retraining the cable means partial disassembly. If you are not equipped with precision drivers and a donor cable, stop here.
When to call Fixwebnode: flicker plus visible glass damage, or flicker alone that you cannot live with for lectures. Workshop inspection can replace panel and cable together when both are compromised.
Issue 4 — 2-in-1 touch layer smashed, picture still OK
Goal: keep typing stable and decide whether a fused assembly is required.
- Step 1 — Plug in a mouse. Ignore the touch surface for coursework.
- Step 2 — Disable touch temporarily if it ghost-clicks. On Windows: Settings → Bluetooth & devices → Touch (wording varies by version) or Device Manager → Human Interface Devices → disable the touch screen entry only if you can reverse it later.
- Step 3 — Avoid tablet mode and 360° folds. Folding a cracked digitizer grinds glass into the stack.
- Step 4 — Confirm whether your model uses a fused display. Many contemporary convertibles replace glass+LCD as one part. DIY glass-only swaps are rarely realistic without a laminating setup.
When to call Fixwebnode: ghost touches interrupt exams or design work, or you need tablet mode restored. Bring the charger and any active pen so input can be checked after the assembly swap.
Issue 5 — Internal screen black, machine still boots
Goal: prove life, recover files, run on external display, then replace the lid panel.
- Step 1 — Listen and look for boot signs. Keyboard backlight, drive activity LED, or Windows login sound.
- Step 2 — Force external-only if needed. Connect HDMI, then try Win+P after a blind wait for login (some devices default to internal-only until toggled).
- Step 3 — Charge and note battery health warnings. A swollen battery can bow the chassis and stress the display—do not keep using a puffy pack; that is a separate safety stop.
- Step 4 — Record exact model and GPU config. Some gaming or creator laptops use high-refresh or unique connectors; stock matching matters.
- Step 5 — Drop off for panel fit. Expect the technician to verify cable continuity and hinge alignment while the bezel is open—not only “swap glass and hope.”
When to call Fixwebnode: immediately if you cannot get any external image either (broader fault) or as soon as external-only mode is your only path and you need mobility back before Monday classes.
When DIY is enough vs when to book Fixwebnode
DIY is enough when: you only need a weekend bridge—external monitor, backups done, crack stable, no loose glass, and you can work from a desk. DIY is also enough for documentation: clear photos of damage, model labels, and a note of when the impact happened.
Book the workshop when: glass is sharp or shedding; image has lines/blotches; touch ghosts; hinge flicker remains; or you must carry the laptop between lectures. Panel replacement is a parts-and-fitment job. Fixwebnode operates as a direct specialist for individuals, sole traders, and local operators—bring the laptop, charger, and a short fault description. Service geography is listed under all service areas and the Australia overview above; use those pages only to confirm coverage, not as a product catalogue.
What to bring: the laptop, power supply, any USB-C dock you rely on, and a backup drive if you already started copying files. Say if the device is needed for Monday labs so triage can prioritise panel matching. Soft timing only applies—early drop-offs are often turned around quickly when the panel is already in stock; never treat any repair window as a guaranteed travel-time promise.
Related specialist work on the same network includes niche site builds such as Adelaide Windows & Doors Website Design: Generating Quote Requests for local operators, but your cracked-lid emergency is handled through laptop screen replacement, not website work.
Get the panel swapped and get back to semester
Cracked glass before university is stressful because the clock is real: enrolment portals, timetables, and first assessments do not wait for a vague “someday” fix. Use the steps above to keep studying on an external display, protect the lid from further crush damage, and separate cable faults from true panel failure.
When you are ready for the screen itself to be replaced, talk directly with Fixwebnode—stocked panels for common Dell, HP, Lenovo, and ASUS lines, workshop swap when the part matches, and clear confirmation of what you should leave with the machine. Start the conversation or booking on the Fixwebnode Australia repair landing page and arrive with model details in hand so Monday stays about lectures, not a black rectangle in your bag.