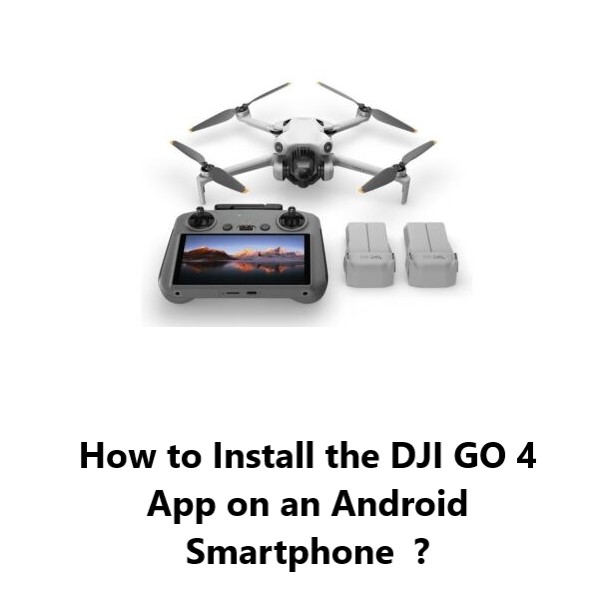
Install the DJI GO 4 App on an Android Smartphone - How to do it ?
With the DJI GO 4 app, you gain control over piloting your drone, adjusting the gimbal, managing the camera, and utilizing various drone functions.
The app also offers settings for drone configuration, along with features for editing and sharing photos and videos.
Here at Fixwebnode, we shall look into the installation of DJI GO 4 app on your Android mobile device and the activation of your drone.
Note that the mobile device is connected to an internet connection.
Table of contents [Show]
How to install the companion apps for your DJI drone, including the DJI GO 4 app for Android mobile devices ?
1. Check Wi-Fi connection
The appearance of the menu theme and options on your screen may vary slightly based on the device (Smartphone or Tablet) and its generation.
Despite these differences, the steps should remain similar across all Android devices and generations.
To check your Wi-Fi connection on your Android mobile device phone or tablet, follow these steps:
- Open Settings.
- SelectWi-Fi.
- Ensure Wi-Fi is turned on, then choose the Connected network.
- In this section, you'll find essential details about your Wi-Fi connection, including the network name, Signal Strength, Link Speed, Frequency, and Security type.
For more connection details, follow these additional steps:
- Select Cancel.
- Tap the Settings gear in the top right corner.
- In this expanded view, you'll find additional information about your connection, such as the MAC address and assigned IP addresses for your Android device.
Once you are connected to the internet, you can proceed with the application installation as described in the step below.
2. Install DJI GO 4 App
To begin, Access the Play Store app on your Android device and do the below:
- Tap the search box at the screen's top.
- Search for "DJI GO 4" and select the app.
- Press Install, followed by Open to initiate.
3. How to Launch the installed DJI GO 4 App ?
- Start by Opening the DJI GO 4 app on your mobile device.
- Then, Review the Terms of Use and Privacy Agreement, then tap I Agree to proceed.
- Next, Decide whether to Join or Not Consider the DJI Product Improvement Plan.
Select your preferred login method: - For a new DJI account, opt for Sign Up and input the required information.
- For an existing DJI account, choose Sign In and provide your login details.
- After logging in, connect your mobile device to your DJI drone's remote controller via a USB cable. The app should now detect the drone.
You can now start using the features of the app to view the drone's camera feed, change settings, access flight modes and controls, etc.
Conclusion:
This guide covers the basic process of getting DJI GO 4 setup on an Android phone or tablet.
In essence, you need to get the app from the Play Store, set up an account, connect your device to the drone controller, and then you can access the drone's features and controls through the intuitive DJI GO 4 app interface.
Let us know if you need any clarification or have additional questions!

